Offering Microsoft 365 & Professional Development Training through our signature KnowledgeWave Learning Site.
KnowledgeWave trains to give your company the competitive advantage.
Make Microsoft 365 a success in your organization with KnowledgeWave!


Online Videos, Live Webinars & Remote Classes
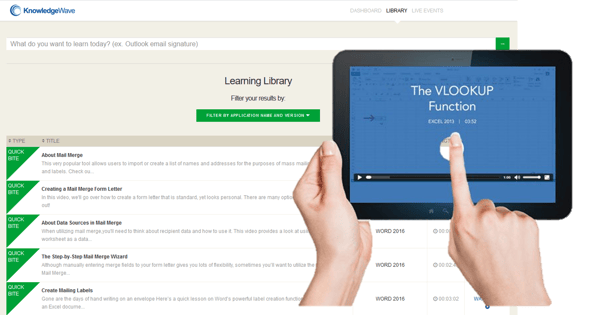
Online videos are a core component of our training solution. Whether it’s Microsoft Teams, Microsoft 365, or Excel, employees can take advantage of quick tips or delve into a full training program. Our learning library is categorized into small, medium, and large learning objectives, allowing everyone to learn at their own pace and continue drawing value over time.
Monthly live webinars are popular and engaging. These half-hour sessions allow participants to attend online and ask questions on the fly. We offer many webinar topics each month based on what's current and relevant for our members. Perfect for software that constantly changes, like Microsoft 365.
We also offer live classroom training as needed for a modest additional fee. Users attend remotely via our virtual classroom, and it feels like they are in the room with the instructor. With one-on-one attention and guided hands-on practice, this tried-and-true training format is still an option.


Microsoft Applications:
Microsoft Access
Microsoft Excel
Microsoft OneNote
Microsoft Outlook
Microsoft PowerPoint
Microsoft Publisher
Microsoft Project
Microsoft Visio
Microsoft Windows
Microsoft Word
![]()
Microsoft 365:
Excel, Outlook, PowerPoint and Word
Microsoft 365 Modern Groups
Delve
Forms
OneDrive for Business
Planner
PowerBI
PowerApps
SharePoint
Stream
Sway
Teams
Yammer